Managing Clients
Clients are how you organize your work in EventRundown. Each client can have multiple timelines, and your dashboard groups everything by client so you can see all the work for a given event at a glance.
Single Event note: Single Event includes 1 client. If you need more, upgrade to Pro for unlimited clients.
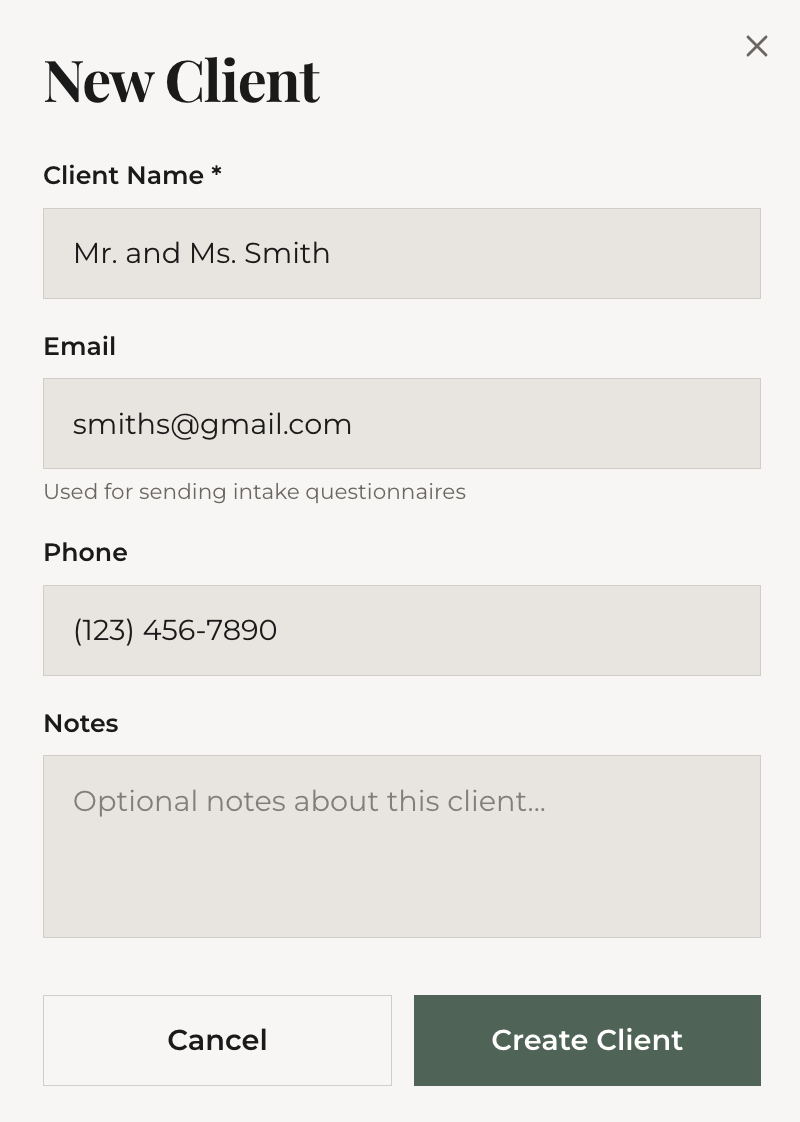
Adding a client
In your dashboard, click "Clients" in the sidebar. Click "Add Client" and fill in:
- Name — the client's name (e.g., "Sarah & Michael" or "Acme Corp")
- Email — optional, used for questionnaire invitations
That's it. You can always add more details later.
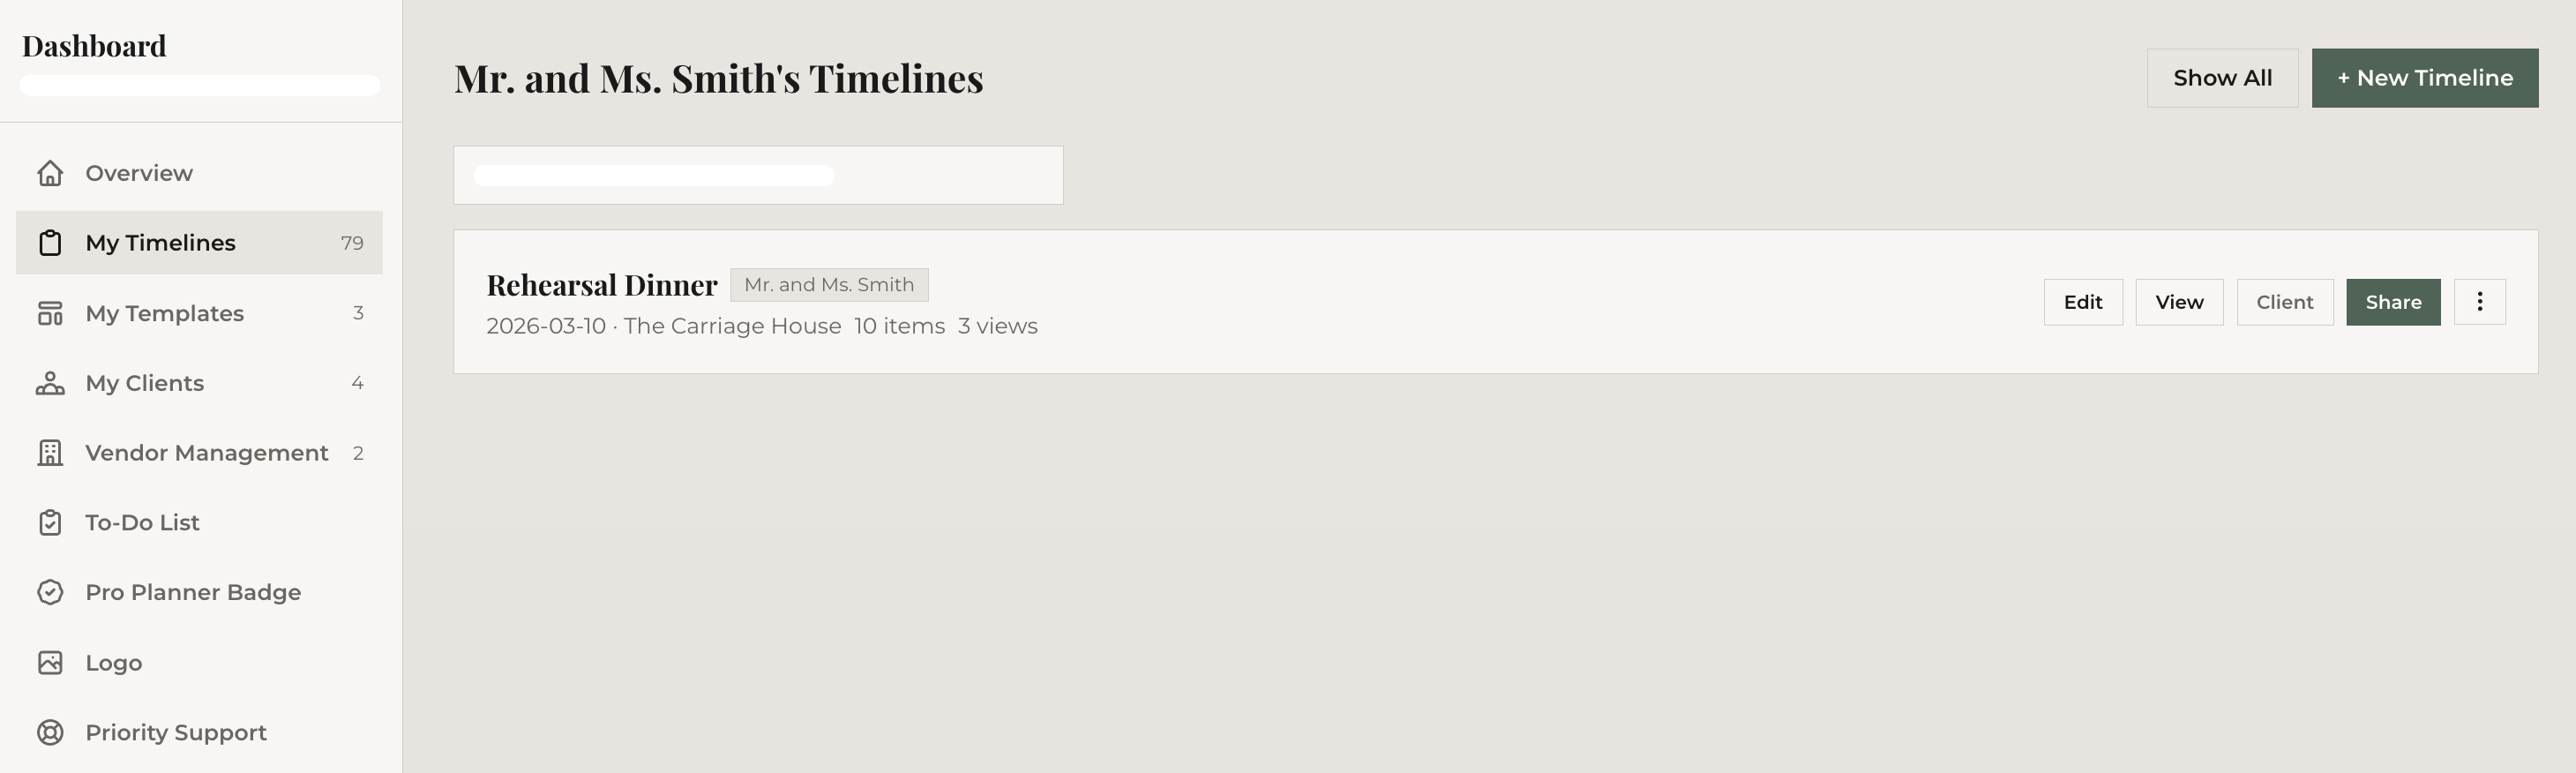
Assigning timelines to clients
From the "My Timelines" view in your dashboard, each timeline has a "Client" button. Click it to assign or reassign the timeline to a client. You can also assign during save from the editor — use "Save to Client" from the save dropdown.

Filtering by client
Click any client name in the Clients section to filter your timelines to just that client's events. This is especially useful when you're managing 10+ active clients and need to focus on one.
Importing and exporting clients
Already have a client list in a spreadsheet? Click the actions menu in the Clients section and select "Import CSV." Map your columns (name, email) and import in bulk.
To export, use "Export CSV" from the same menu. This downloads all your clients as a spreadsheet you can share with your team or back up.
What's next
Ready to let your clients fill in their own event details? Send them a questionnaire.