Attaching Files and Documents
Timelines aren't just about times and tasks. You often need to attach supporting documents — a floor plan for the venue, a contract for the caterer, a reference image for the decorator.
Adding attachments
In the editor, scroll to the Attachments section below your timeline items. Click "Upload" and select files from your computer. You can upload up to 20 files per timeline, with a maximum of 10MB per file.
Supported formats include PDFs, images (PNG, JPG), Word documents, and spreadsheets.
Per-attachment visibility
Each attachment has a visibility toggle (eye icon). When the eye is open, that attachment is visible on the public share link. When closed, it's only visible to you in the editor.
This lets you attach internal documents (like cost breakdowns or personal notes) alongside client-facing ones (like the floor plan) without sharing everything.
Vendor-specific attachments
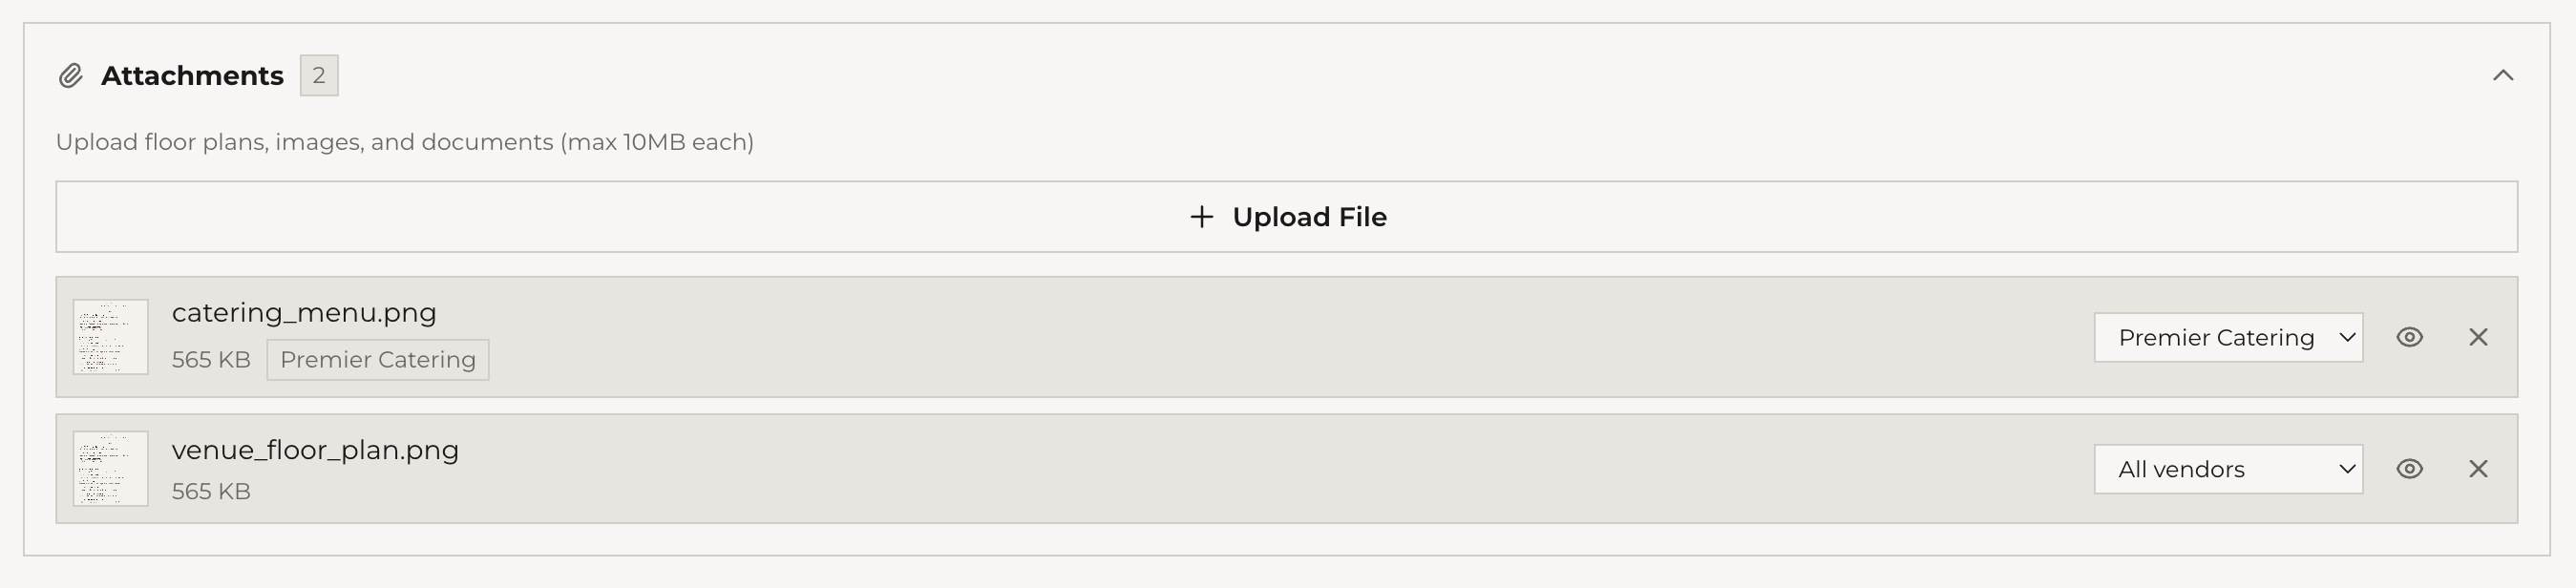
When you upload an attachment, you can assign it to a specific vendor. That attachment then appears in the vendor's filtered view, making it easy to share relevant documents with the right people.
Viewing attachments
Attachments appear in several places:
- Editor — the Attachments section shows all files with download and delete options
- Dashboard — the overflow menu on each timeline shows an Attachments option with the file count
- Shared viewer — visible attachments appear at the bottom of the public timeline page
What's next
Your timeline is organized and documented. Next: managing your venues.