Adding and Managing Vendors
Vendors are the people who make your event happen — caterers, DJs, florists, photographers. EventRundown lets you track them and connect them to specific timeline items.
Single Event note: Single Event includes 1 vendor per timeline. If you coordinate with multiple vendors, upgrade to Pro for unlimited vendors.
Adding vendors
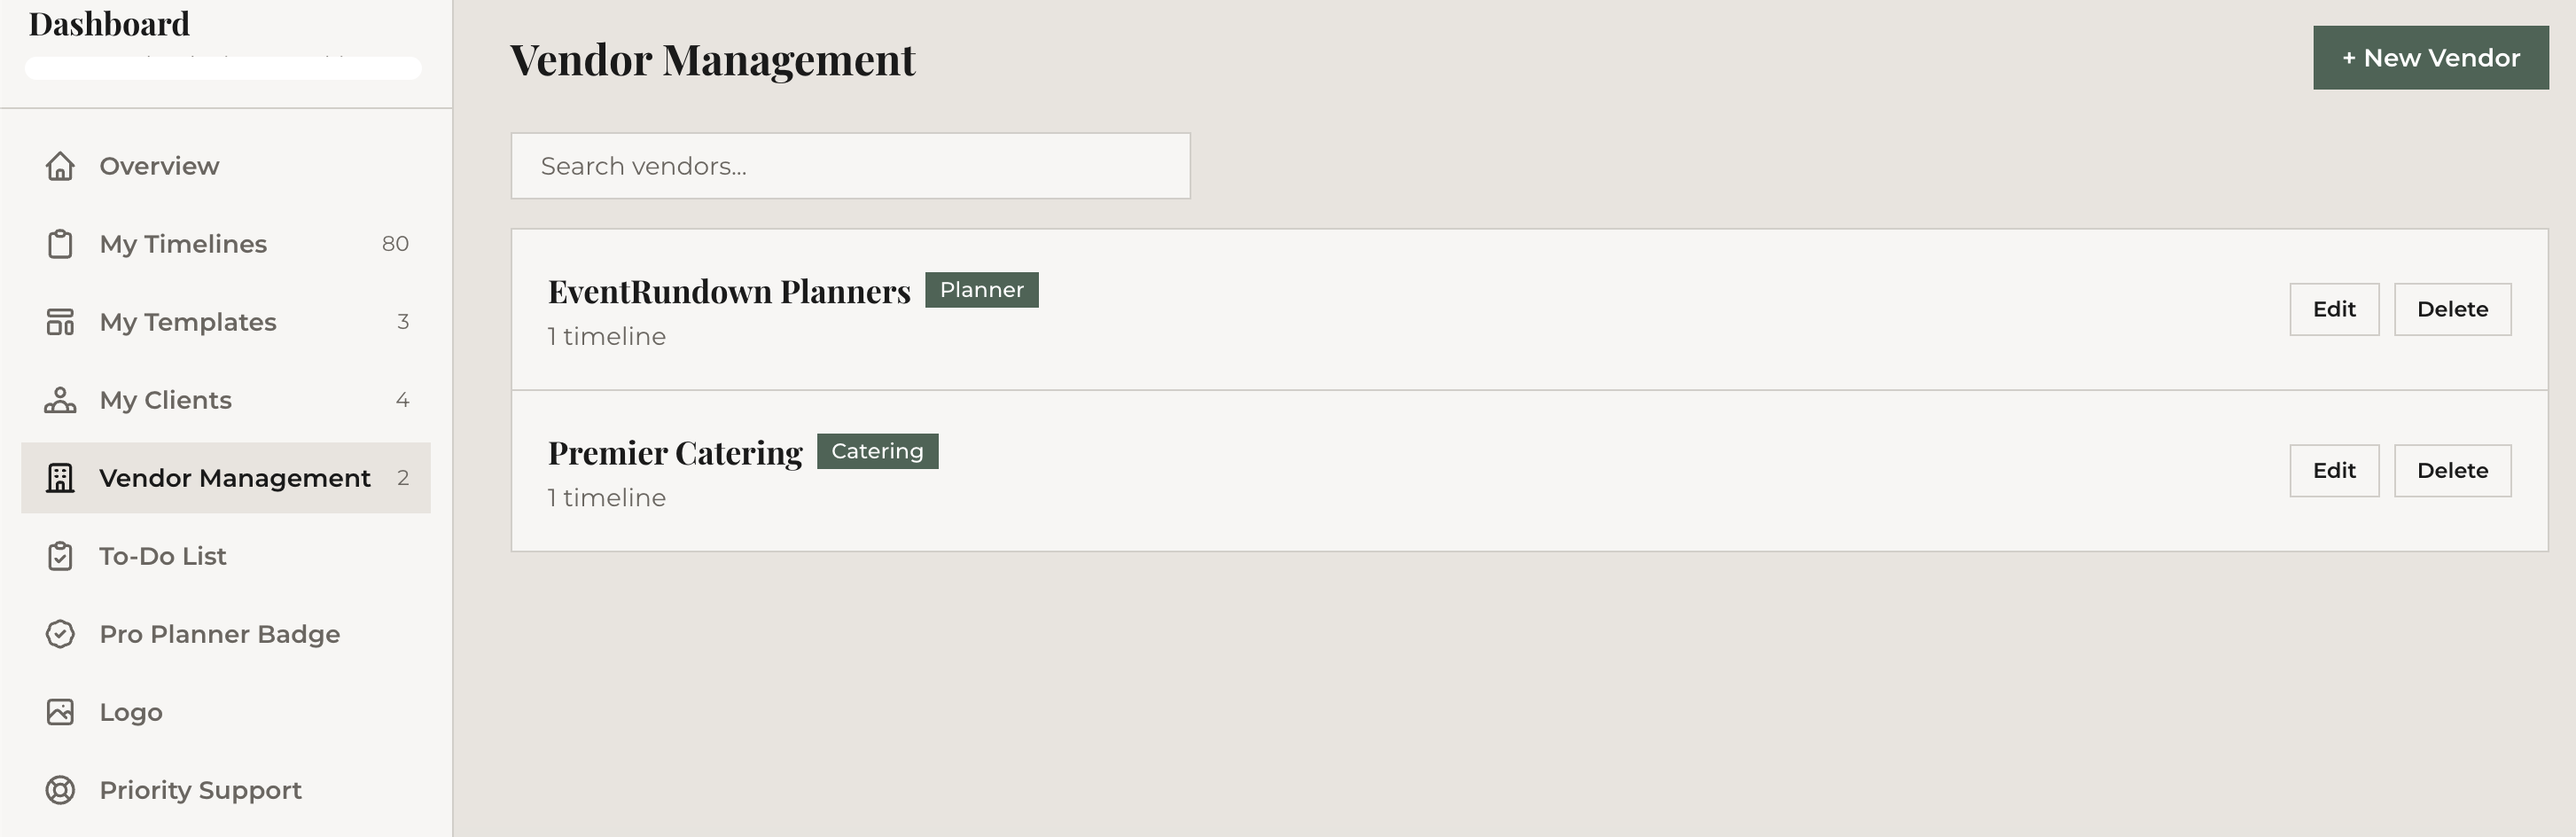
In your dashboard, click "Vendor Management" in the sidebar. Click "Add Vendor" and fill in:
- Name — the vendor's name or company
- Category — e.g., Catering, Photography, Music, Florals
- Email — for contact reference
- Phone — for contact reference
Your vendor roster is shared across all your timelines. Add a vendor once, use them everywhere.
Assigning vendors to timeline items
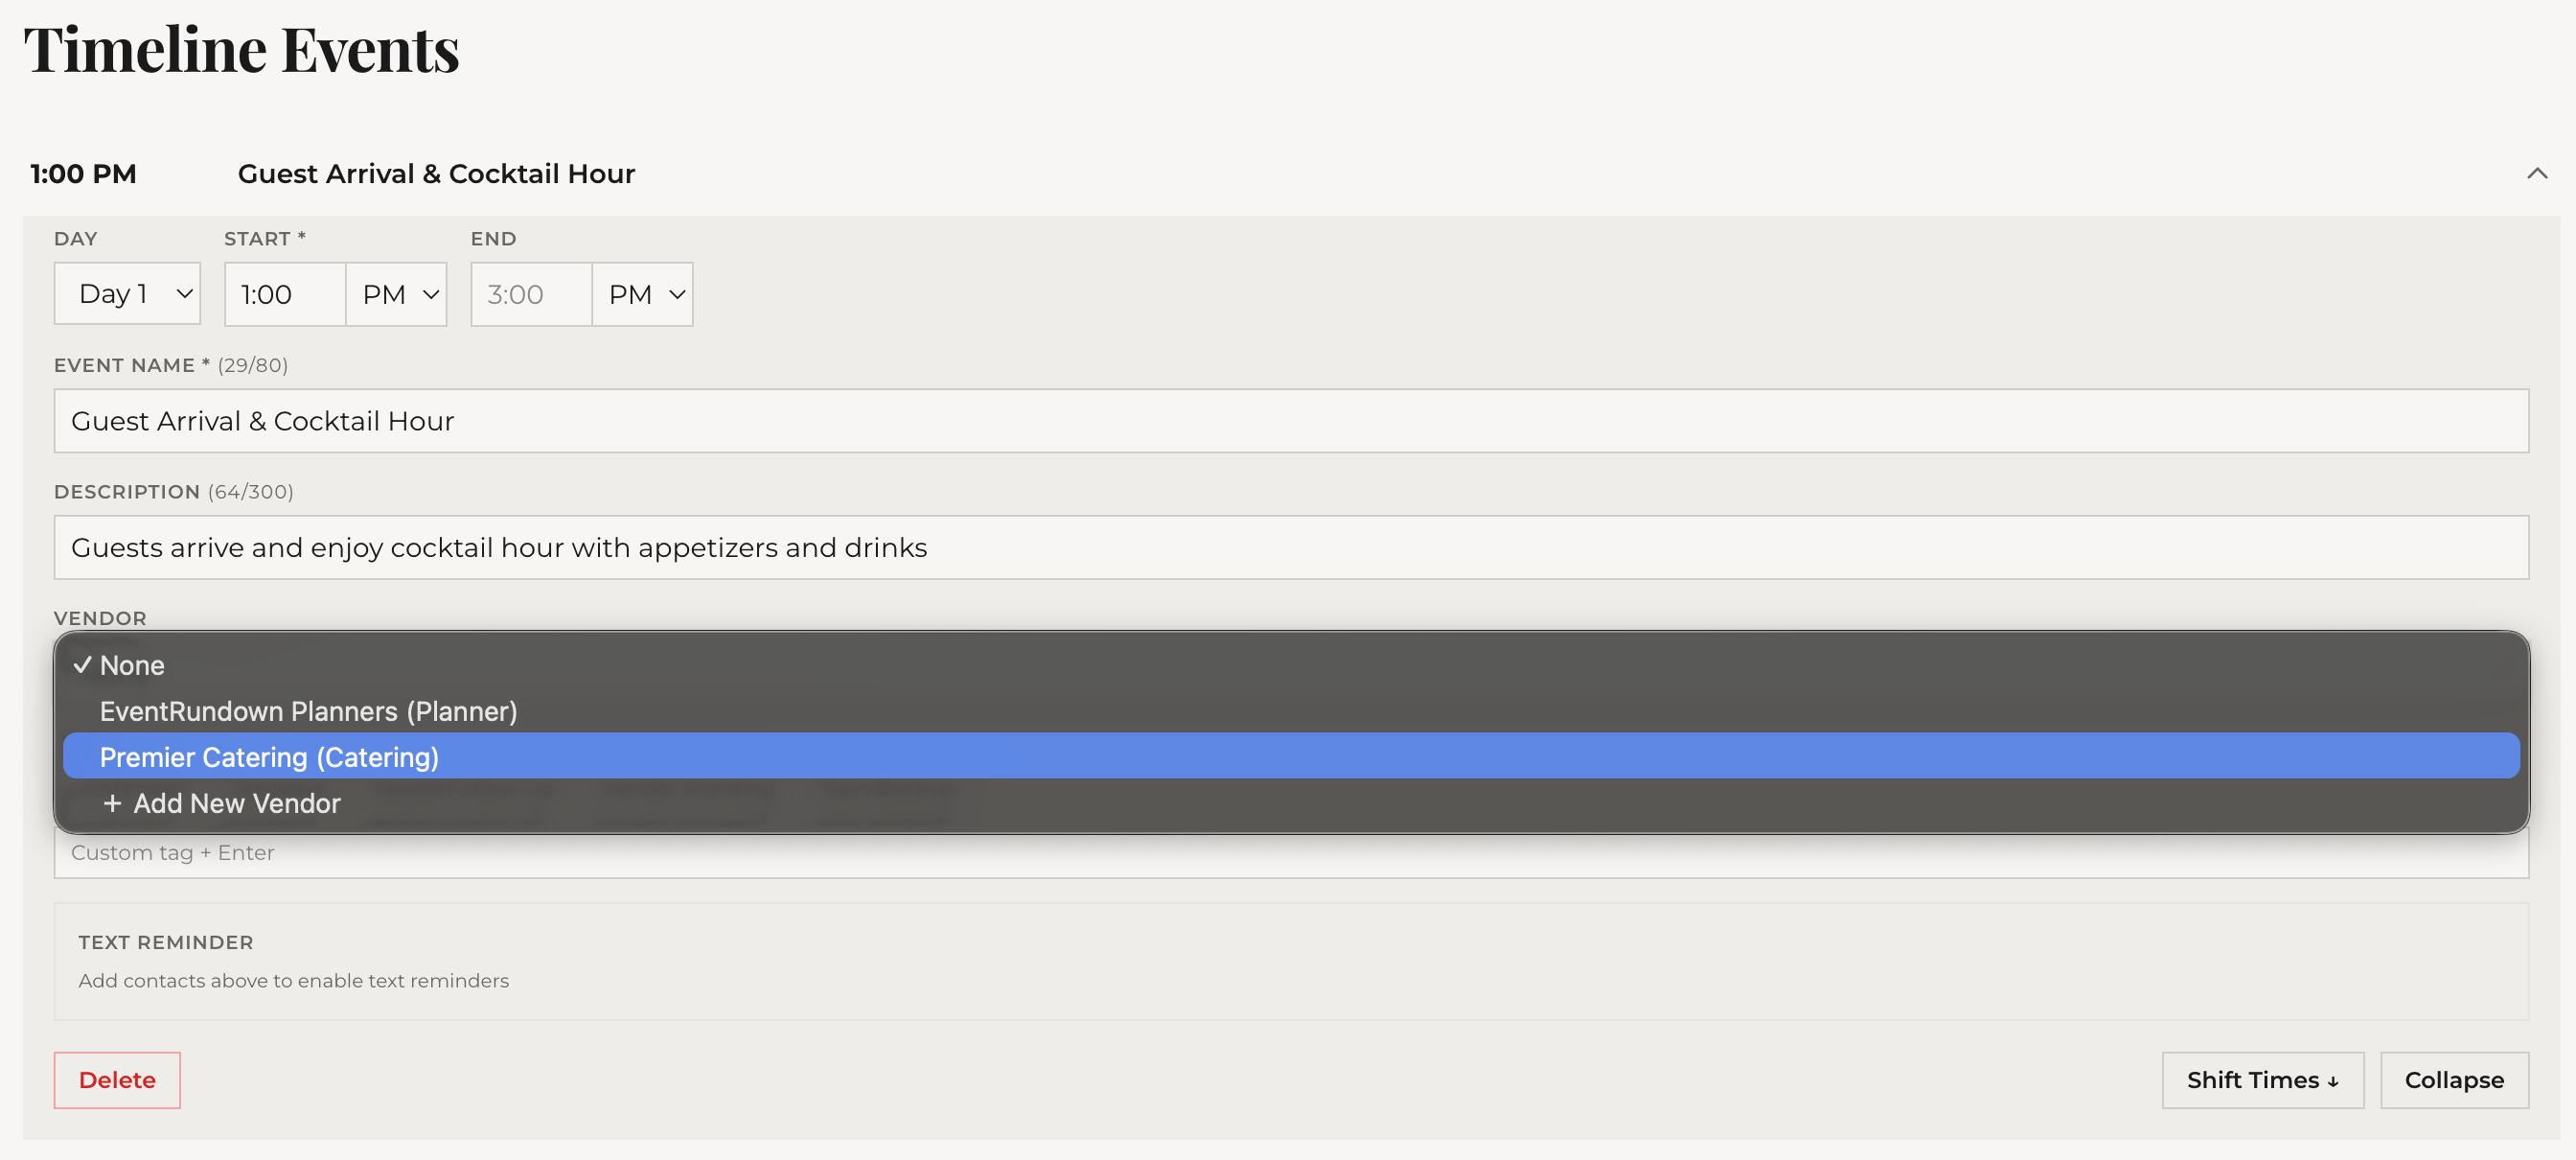
In the editor, expand any timeline item. You'll see a "Vendor" dropdown. Select a vendor from your roster. Once assigned, the vendor's name appears as a badge on the item in the collapsed view.
This makes it immediately clear which vendor is responsible for each part of your event.
Per-vendor share links
This is one of the most useful Pro features. From the Share panel on your dashboard (or the editor's Publish modal), you'll see a vendor-specific link for each vendor assigned to at least one item.
When a vendor opens their link, they see only the items assigned to them — not your entire timeline. Your caterer sees "5:00 PM Cocktail Hour" and "6:30 PM Dinner Service" but not "3:00 PM Bridal Prep" or "9:00 PM Last Dance."
This is cleaner than sending a full timeline and expecting vendors to find their own items.
Preferred vendors and ratings
Mark vendors you frequently work with as "Preferred" — they'll appear at the top of dropdowns and vendor lists. In the vendor detail panel, you can also rate vendors per event (1-5 stars with optional notes). Over time this builds a track record you can reference when recommending vendors to new clients.
Importing and exporting vendors
Have a vendor spreadsheet? Use "Import CSV" from the actions menu in Vendor Management. Map columns for name, category, email, and phone. To export your full roster, use "Export CSV" from the same menu.
What's next
With vendors assigned, add tags to your items for even more organization.