Saving and Managing Timelines
The editor auto-saves to your browser as you work, so refreshing the page won't lose your progress. But for long-term access across devices, you'll want to save to your account.
Creating an account
Click "Sign In" in the top navigation. You can sign in with Google (one click) or use a magic link sent to your email. Both are free.
Saving a timeline
Once signed in, click the "Save" button in the editor. Your timeline is stored server-side and appears on your dashboard. You can access it from any device.
Your dashboard
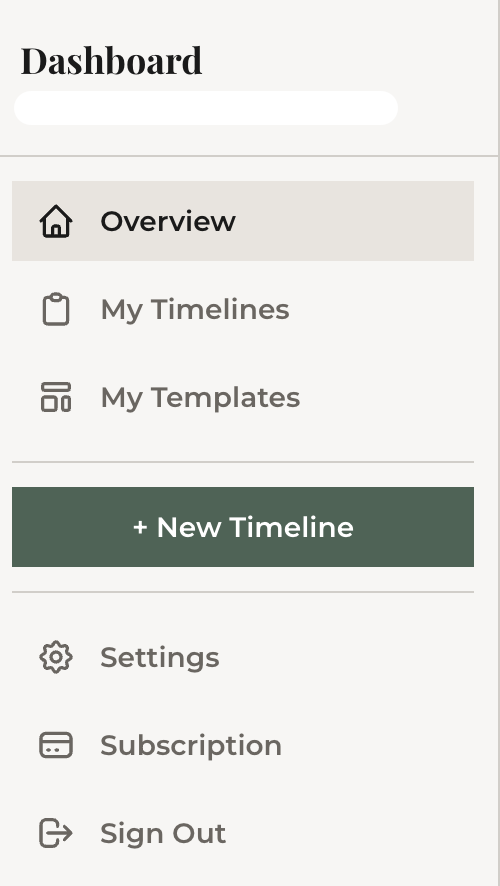
The dashboard is your home base. From here you can:
- View all saved timelines — see titles, dates, and item counts at a glance
- Edit — click any timeline to jump back into the editor
- View — open the shareable viewer page
- Share — copy the share link or view embed code
- Delete — remove timelines you no longer need
Auto-save for logged-in users
When you're signed in and editing a saved timeline, changes auto-save to the cloud every 60 seconds. You'll see a brief confirmation when it saves. No need to hit Save manually after every edit.
Local auto-save (not logged in)
Even without an account, the editor saves your work to your browser's local storage. This means you can close the tab and come back later — your data will still be there. But this only works on the same browser and device.
What's next
Next up: using timeline blocks to drop pre-built event sequences into your timeline with one click.