Creating Your First Timeline
You have an event coming up and you need a timeline. Maybe it's a birthday party, a wedding, a baby shower, or a company offsite. Whatever it is, the process is the same: list what happens, in what order, and when.
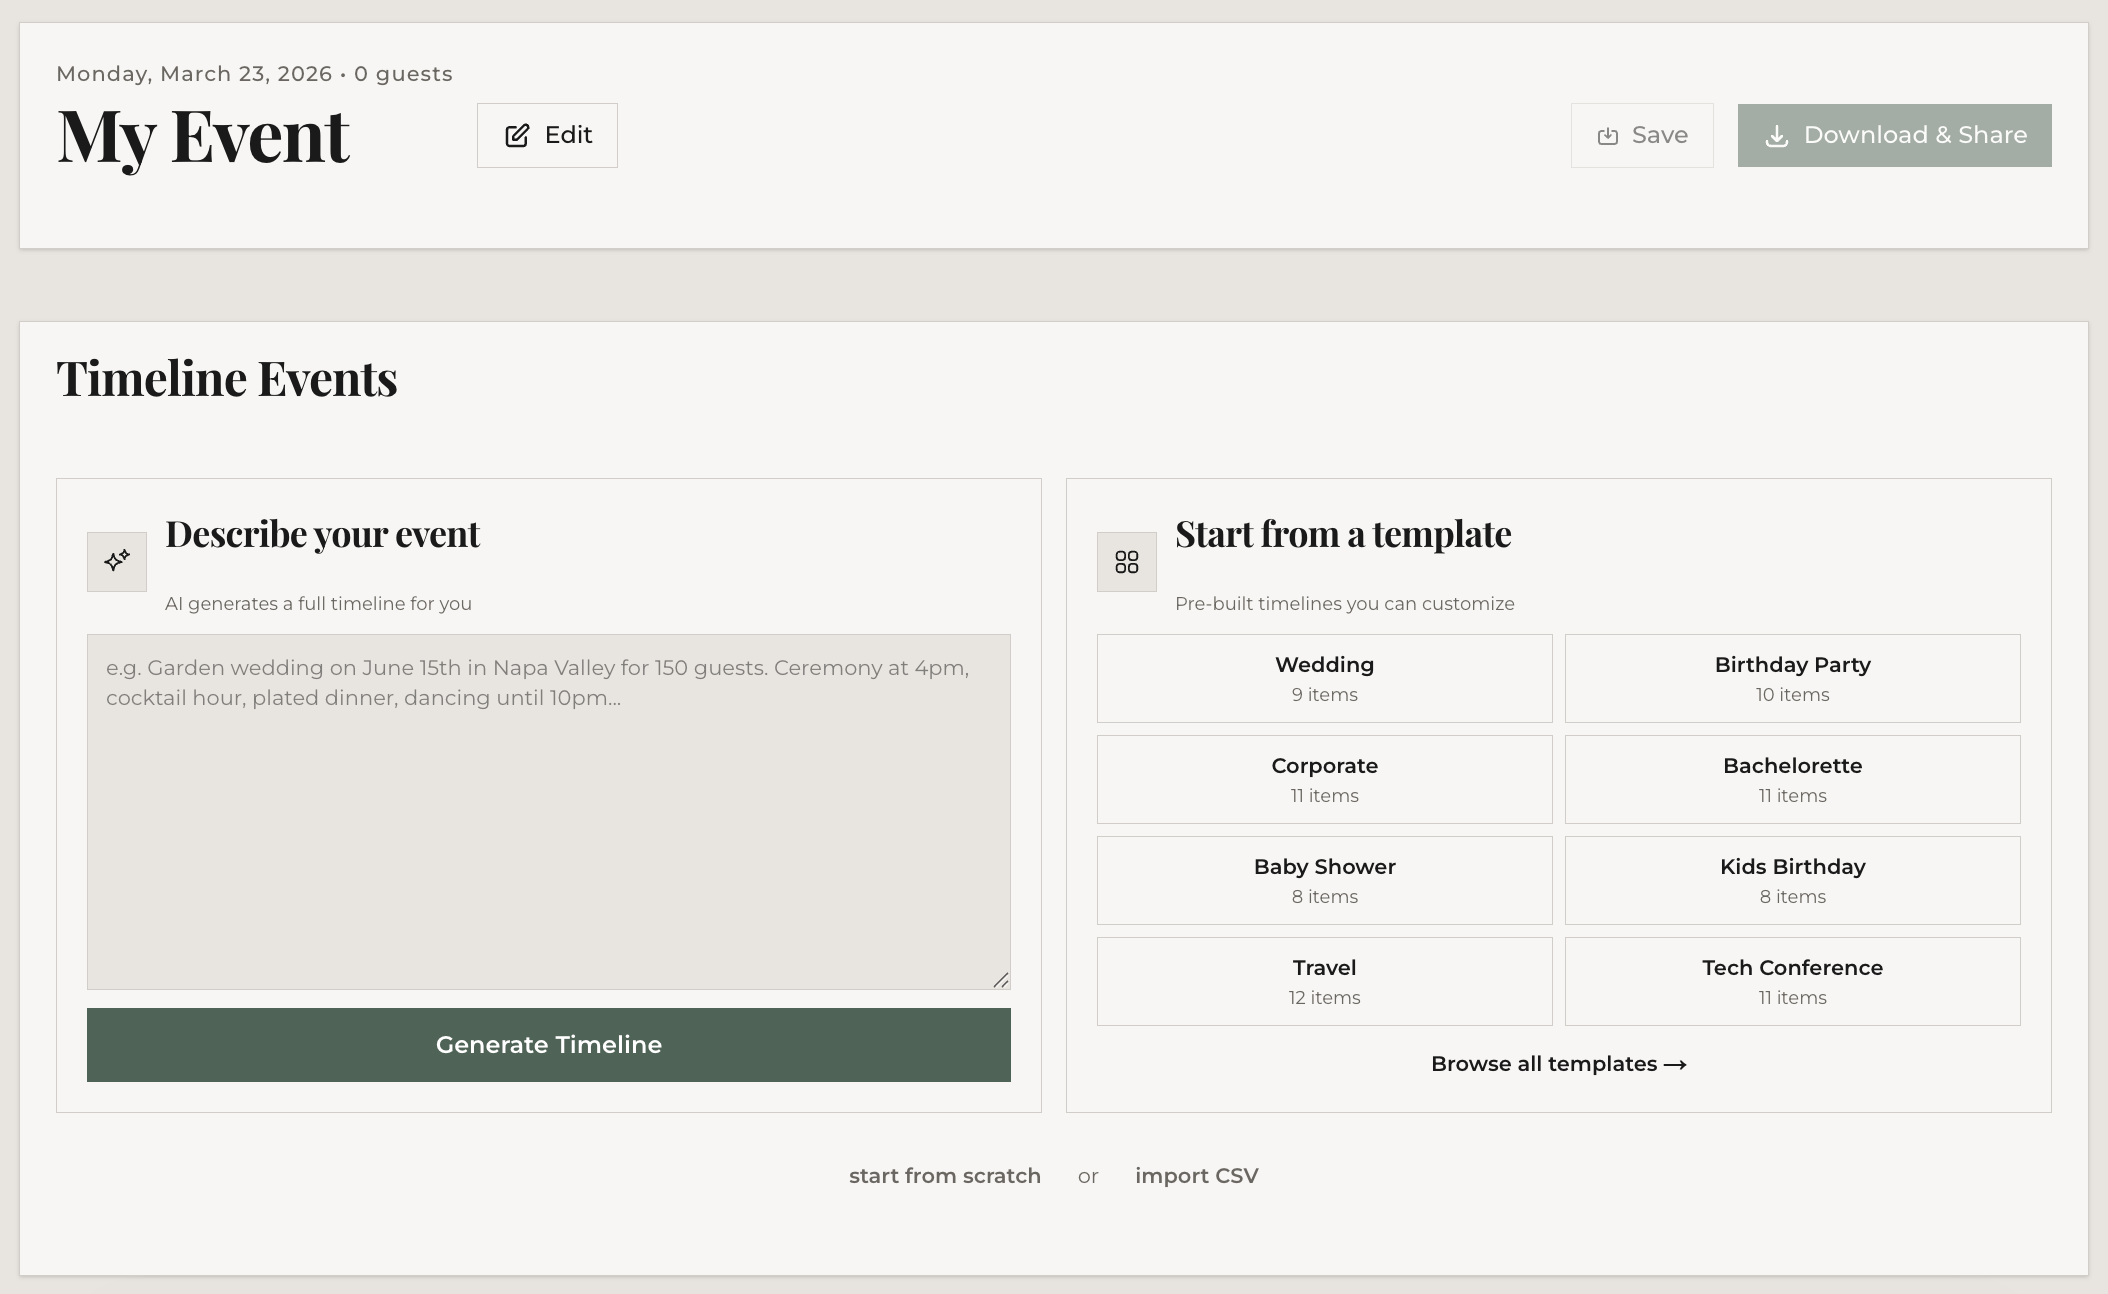
Option 1: Start from a template
The fastest way to get going is to pick a template that matches your event type. There are templates covering weddings, parties, corporate events, and more — each pre-loaded with realistic items and times you can edit to fit your actual event.
From the templates page, click "Use This Template" on any template card. You'll land in the editor with all the items already filled in. Change what doesn't apply, keep what does.
Option 2: Start blank
If you'd rather build from scratch, go straight to the timeline editor. You'll see an empty timeline ready for your first item.
Adding your first item
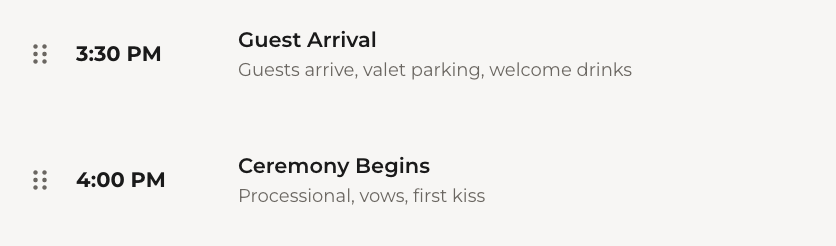
Click the "Add Event" button. You'll see three fields:
- Time — when this thing happens (e.g., "3:00 PM" or "Day 2 9:00 AM" for multi-day events)
- Task — what's happening (e.g., "Guest Arrival" or "Cake Cutting")
- Description — optional details (e.g., "Valet parking available, welcome drinks at the bar")
Hit Enter or click the add button. Your item appears in the timeline. Add as many as you need.
Editing items
Click any item to expand it. The expanded view lets you change the time, task name, and description. Changes save automatically when you click away or collapse the row — no save button needed.
Automatic sorting
Items sort by time automatically. If you add a "6:00 PM Dinner" after a "9:00 PM Last Dance," it'll slot into the correct position. You don't need to worry about adding things in order.
Reordering manually
Need to override the auto-sort? Drag items using the grip handle on the left side of each row. This is useful when two items happen at the same time and you want to control which appears first.
Deleting items
Expand an item and click the delete button at the bottom. It's gone. If you delete something by accident, you can undo it using the undo button that appears briefly after deletion.
Shift All Times
Need to move your entire schedule forward or back? Click "Shift All Times" in the toolbar. Enter a positive or negative number of minutes, and every item shifts by that amount. This is useful when a venue changes your start time and you need to adjust everything at once.
What's next
You've got a timeline with items. Next up: generating a full timeline from a description of your event, or skip ahead to customizing how it looks.